Last year our well went un-insulated all winter and during a particularly cold stretch we had a pipe break. Fortunately I noticed it within about 12 hours because I saw that the electrical meter was spinning at a crazy rate. For the last 10 or 11 months I’ve meant to do something to prevent it from happening again this winter, but the house has always taken priority
Since we’re currently having drywall hung and textured, I can’t really work on the house so I decided to finally do something about the pump house. The fact that we’re expecting temperatures to be in the high teens had something to do with it too.
I figured it would take me a few weekends to really get a good pump house up and didn’t really want to spend that much time on it right now (much less the cost of building materials) so I “made do”.
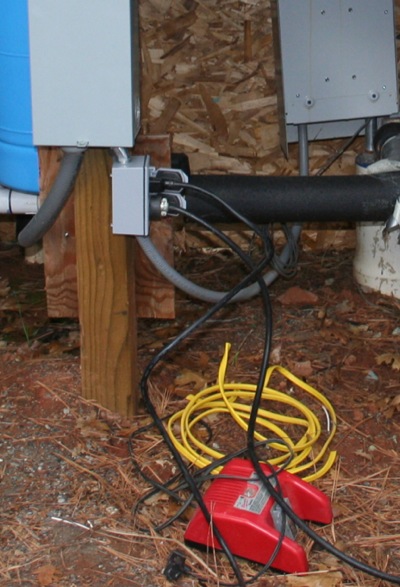 Before I could work on anything up there, I needed power. When we ran the wires for the well back in the summer of 2007, we ran four so that we could have two hot legs for the 220V pump, a ground and a neutral for a 110 circuit. I used one hot leg and the 110 to put in a duplex plug.
 The basic frame is made up of three pallets that my Dad had. I bought three 4×8 sheets of 3/8 OSB for about $9 each and cut and stapled them up with my pneumatic stapler. It ends up being a surprisingly stable structure.
 The backside of the pump house. I’ve since gone back and cleaned up the gaps some by stapling additional OSB over them and using leftover mastic from our SIP installation to “caulk” them.
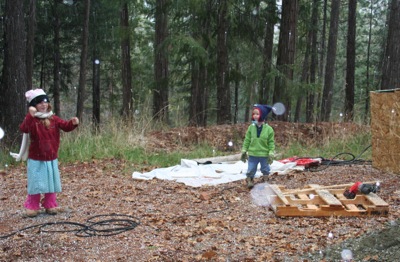 The kids hung out and helped. Here they’re playing in the “snow”. I had Emma help me a as a counterweight when cutting the OSB. I put the sheet in the back of my truck hanging out over the tail gate and Emma sat on the end in the truck so that it would remain horizontal for me to cut.
I cut a final sheet and used screws to hold it in place over the 4th wall. Now I’ll be able to access the internals by simply taking a couple screws out. This will give me the access I need to turn the light on and off to be doubly sure nothing will freeze.