Lots of Progress!

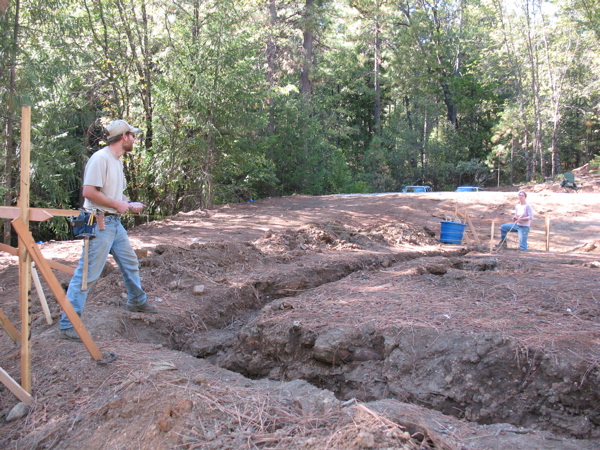
After a feverish rush of work done largely by Matt over the last week or so, we now have completed our concrete forms and we’ve passed our first inspection. Matt and a crew of guys are pouring concrete into our perimeter foundation this morning, and in a week we’ll be pouring concrete for our slab. In the meantime we’ll have to strip the form boards, pour rock for fill, lay more rebar, and put in our vapor barrier. Yes, the fun never ends. I can’t post pictures because I’m currently visiting my parents in the Bay Area, but hopefully we’ll be able to post some in the next week or so.

The other big news is that we have a delivery date for our SIP panels — Wednesday, November 7th. After getting the panels we’ll have to do some work cutting and mounting wood to the panels so that we can attach them together, but we’ll probably be having the house-raising for the first floor either that weekend or the weekend following. After the first floor is up we’ll have to build out all the load bearing walls and the second story sub-floor before we can put the second story and roof on. Matt is taking November off so he can work full time on the house.

Busy, busy, busy!

Our Foundation – Part the First

Every house starts with a foundation. It’s where the structure meets the earth.

Our foundation started with stakes and strings to mark the general position of the house (accurate to a couple inches). Then we chalked over the strings.

The chalk marks showed where to dig our footings. Our footings have been dug and we’ve embarked on the wonderful world of batterboards and stringlines.

A batterboard is a simple structure made of stakes. Its purpose is to provide a stable place to tie a string to so that you can mark the actual dimensions of the foundation.

We have two styles of batter boards:
* short
* tall

The short batter boards are made of 3′ stakes and they’re used on the high ground (where we don’t have a stem wall, the slab just flows down into a footing).

The tall batter boards are made of 4′ stakes (some with a couple additional 3′ stakes to give us the height we need) and they’re used on the low ground (where we have an actual stem wall).

Once the batter boards are setup then you need to start setting, measuring a moving strings. These strings define the actual dimensions of your house so they have to be really accurate.

We started out this process by putting the strings where it made sense, then measuring our distances to try to get the dimensions correct. After moving a few of the strings this way, we realized that this really wasn’t the way to go about the process. You really have to get your corners set at 90 degrees, then start moving both ends of a line to get your dimensions.

IMG_1437.jpg

So, how do you get your corners to be 90 degrees? Geometry. A 3-4-5 triangle has a 90 degree corner between the 3 and 4 legs. Since our house is a basic 32’x47′ rectangle, we used 30-40-50 triangles. We measured 30′ out on the short side, and put a piece of tape on the string. Then we measured 40′ out on the long side and put another piece of tape on. Then, we measured the diagonal. If it’s longer than 50′, the angle is obtuse; if it’s shorter than 50′, the angle is acute. If it’s exactly 50′, then we have a 90′ angle.

It took us a lot longer than we expected to get our strings set. It’s a surprisingly difficult activity and we had several weather delays.

Once the strings were all set, we were able to move onto the fun part of actually building something…