A couple pictures

Progress is being made, although we haven’t had much time in front of the computer in order share what’s happened.  My mother-in-law was kind enough to send me a couple pictures she took yesterday and I thought they were good representations of what we’ve done.

First, here’s our start on the house.  We got delivery on the 7th as planned, and it was challenging getting all the panels up to the house pad and sorted.  They are now all sorted and thanks to some family who were visiting for Thanksgiving, we were able to get a few panels up.  This is the northwest corner of the house.  The panels in the background are the second story panels.  The wood on the very top is not part of the wall, it is there to protect the panels from moisture.
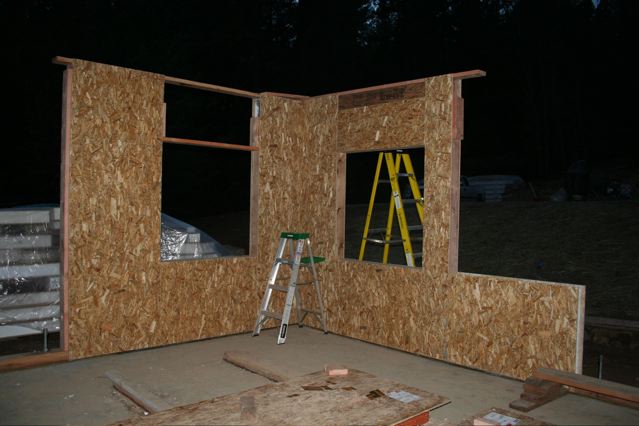
img_4443.jpg
And our other big project has been working with PG&E to get our power going.  They pulled power up the hill and down to our subpanel last week, and yesterday someone came by and installed our meter.  Check it out – you don’t often get to see a meter that reads this!
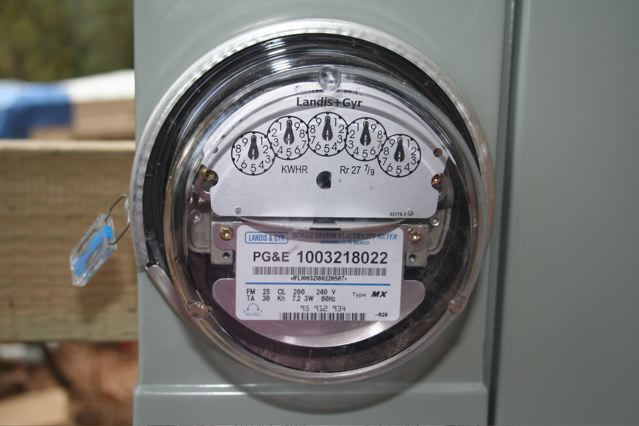
img_4437_2.jpg

And yes, we have power!  Matt is doing electrical work today so that we can plug the trailer in and have some outlets down near the house pad.  I think the well is already set to go, but I’m not sure.   It will be nice not to have to run the generator all the time!

Slab!

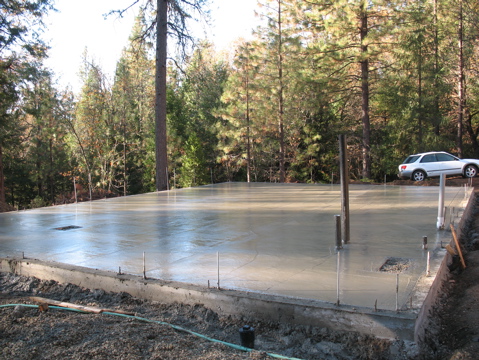
Well, all the hard work from the last couple months has payed off. We now have a poured slab and we’re ready to move on to the panels.

concrete slab
This picture is from shortly after the slab was poured so it’s still very wet looking.

We’ll put together a more detailed post with pictures from the flurry of work in the last couple weeks getting to this point, but I wanted to get the slab shot up there.

Our panels arrive on 11/7 and then our house will really start to take off.

Lots of Progress!

After a feverish rush of work done largely by Matt over the last week or so, we now have completed our concrete forms and we’ve passed our first inspection. Matt and a crew of guys are pouring concrete into our perimeter foundation this morning, and in a week we’ll be pouring concrete for our slab. In the meantime we’ll have to strip the form boards, pour rock for fill, lay more rebar, and put in our vapor barrier. Yes, the fun never ends. I can’t post pictures because I’m currently visiting my parents in the Bay Area, but hopefully we’ll be able to post some in the next week or so.

The other big news is that we have a delivery date for our SIP panels — Wednesday, November 7th. After getting the panels we’ll have to do some work cutting and mounting wood to the panels so that we can attach them together, but we’ll probably be having the house-raising for the first floor either that weekend or the weekend following. After the first floor is up we’ll have to build out all the load bearing walls and the second story sub-floor before we can put the second story and roof on. Matt is taking November off so he can work full time on the house.

Busy, busy, busy!

Our Foundation – Part the First

Every house starts with a foundation. It’s where the structure meets the earth.

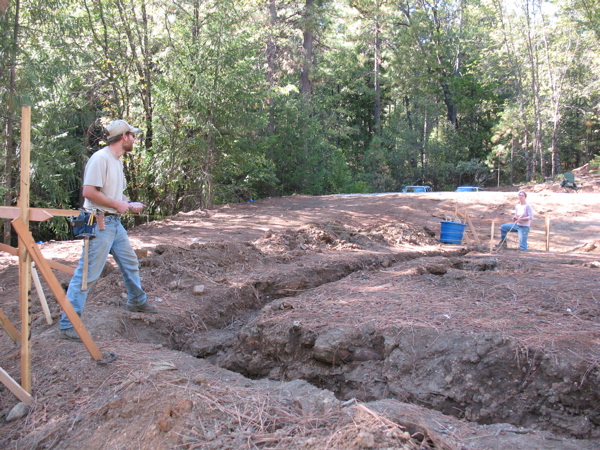
Our foundation started with stakes and strings to mark the general position of the house (accurate to a couple inches). Then we chalked over the strings.

The chalk marks showed where to dig our footings. Our footings have been dug and we’ve embarked on the wonderful world of batterboards and stringlines.

A batterboard is a simple structure made of stakes. Its purpose is to provide a stable place to tie a string to so that you can mark the actual dimensions of the foundation.

We have two styles of batter boards:
* short
* tall

The short batter boards are made of 3′ stakes and they’re used on the high ground (where we don’t have a stem wall, the slab just flows down into a footing).

The tall batter boards are made of 4′ stakes (some with a couple additional 3′ stakes to give us the height we need) and they’re used on the low ground (where we have an actual stem wall).

Once the batter boards are setup then you need to start setting, measuring a moving strings. These strings define the actual dimensions of your house so they have to be really accurate.

We started out this process by putting the strings where it made sense, then measuring our distances to try to get the dimensions correct. After moving a few of the strings this way, we realized that this really wasn’t the way to go about the process. You really have to get your corners set at 90 degrees, then start moving both ends of a line to get your dimensions.

IMG_1437.jpg

So, how do you get your corners to be 90 degrees? Geometry. A 3-4-5 triangle has a 90 degree corner between the 3 and 4 legs. Since our house is a basic 32’x47′ rectangle, we used 30-40-50 triangles. We measured 30′ out on the short side, and put a piece of tape on the string. Then we measured 40′ out on the long side and put another piece of tape on. Then, we measured the diagonal. If it’s longer than 50′, the angle is obtuse; if it’s shorter than 50′, the angle is acute. If it’s exactly 50′, then we have a 90′ angle.

It took us a lot longer than we expected to get our strings set. It’s a surprisingly difficult activity and we had several weather delays.

Once the strings were all set, we were able to move onto the fun part of actually building something…

Busy Week

Well, finally, things are starting to happen! We got a septic permit this week, and we started working on that system. Our building permit should be coming any day now, and in anticipation we’ve started chalking the outline of the house and getting ready to do some foundation work.

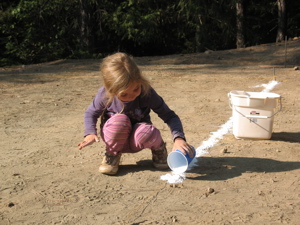
Here’s Emma, helping with the chalk outline. The chalk comes in a big bag and you scoop it out with a cup then carefully pour it out to follow your line.

emma_chalk.jpg

Here’s the finished outline

outline.jpg

Here’s our septic tank being delivered

septic.jpg

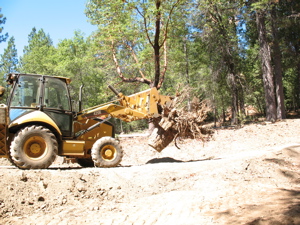
And here’s Al moving the largest of the stumps. We had him move all the stumps that were too big for us to tackle and now we have lots of lovely clear space!

stump.jpg

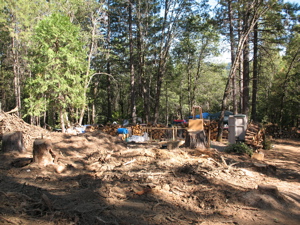
And look, no stumps! Yes, I know, it is still a mess, but at least it is a mess we can deal with without large equipment.

no_stumps.jpg

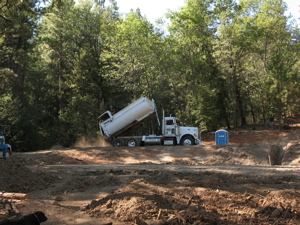
And we also got gravel spread on our driveway and parking pad, so that when it rains we hopefully won’t disappear into the mud and muck.

asphalt.jpg

Pictures!

Here’s some pictures of our camp, now that we’re nicely settled.  Looking at these pictures makes me think of a squatter’s camp (as my brother said) but in person I think it is a bit more attractive.

Here’s the kitchen:

kitchen.jpg

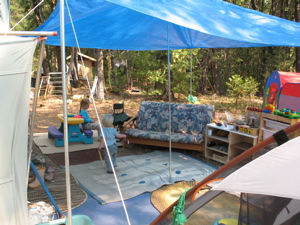
Here’s the “living room”:

rug_area.jpg

Here’s a shot of the garden and the camp beyond:

camp_garden.jpg

And here’s Matt and his grandfather putting a roof on the workshed.

roof.jpg

And in other news we’ve submitted our corrections and we should (fingers crossed!) have our permit next week.  Yippee!   We also bought a used trailer which needs a little work (mainly in the bathroom, as far as we know right now) but the price was right and it is in good shape otherwise.  It is a 1988 23′ 5th wheel, and it will become home in another month or so.   It may sound small, but the amenities are certainly a lot better than a tent!

We’re still here!

This blog has gotten awfully quiet, hasn’t it! We’re still here, camping on the property and waiting to get our permit. We’ve settled in quite nicely at our “campsite” and we’re enjoying the experience. At this point we’re pretty close to our permit (we think!). We’re waiting for one more set of corrections then we’ll submit those to the county and then we should either have our permit or further corrections in about a week to a week and a half. We’re really hoping to get those other corrections ASAP, but it is out of our hands. Right now we’re planning on starting on the foundation and septic system in the next couple weeks, then getting our SIP panels at the end of the month. Nothing is certain though at this point, but it does seem like we are still moving in the right direction. We’ve started looking for a trailer, but so far we haven’t found anything yet. We’d like to have one by the end of the month but since we’ve decided to get a used one it just depends on when the right one comes up and if we’re able to jump on it fast enough to get it.

I’m writing this on Matt’s laptop while I’m sitting on the property. It is completely dark and all I can hear are crickets and one lone airplane far up in the air. The stars are spectacular, especially since the moon isn’t up yet. We don’t have internet access here, but Matt should be able to post this tomorrow once he gets into the office. We’re trying to use MarsEdit to do remote blogging, so we’ll see how that works. I’m not sure I can do pictures this way though, unless my husband is kind enough to add them to the post once he is in the office.

Alright, I’m up far later than I usually am (it is 10:45, my goodness!) and it is time for me to walk the 150 steps to the porta-potty then scramble back to the tent and crawl into our sleeping bag. Yes, it is a different sort of life, but it is actually a pretty good one. 🙂

A Week and a Half in Pictures

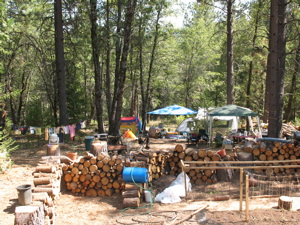
Here are the pictoral highlights of our moving and settling in process. More commentary will come, but pictures tell the story pretty well.

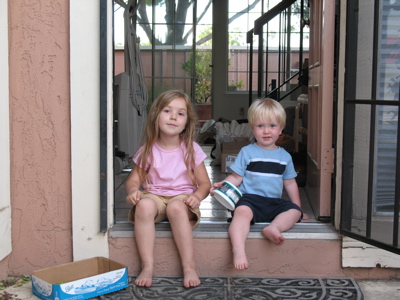
Last shot of the kids at the door
A last shot of the kids at the door of our old place.

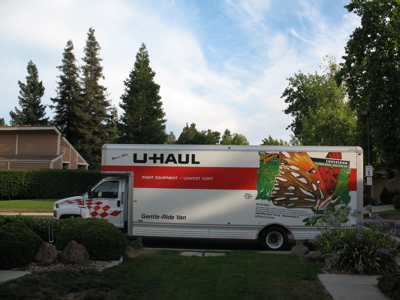
26 foot moving truck
We used a 26 foot moving truck to move everything.

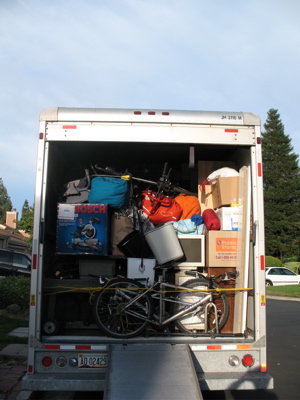
A full moving truck
We had that sucker crammed really full, too.

The morning after our first night
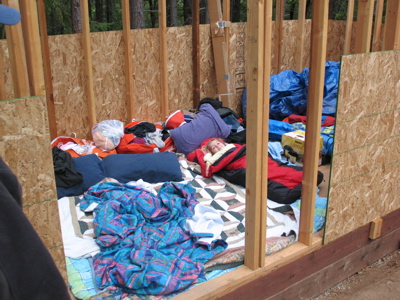
Since we didn’t get up there till almost midnight, we just threw down some blankets on the floor of my unifinished workshop and spent the night there. Gregory is still underneath the blue blanket and Emma’s in her sleeping bag.

Gregory exploring the property
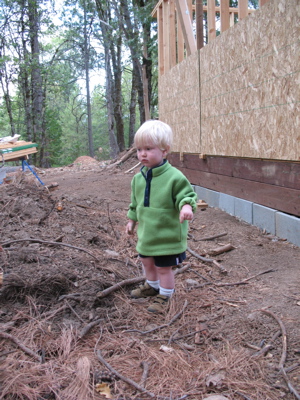
Gregory, beginning his exploration of the property.

Sorting tent poles
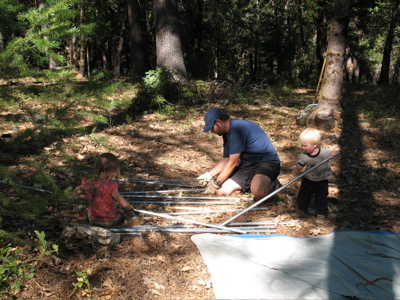
Sorting tent poles so that we can setup the big tent.

A happy boy
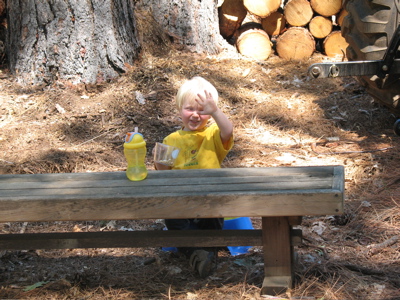
A happy boy waving to the camera.

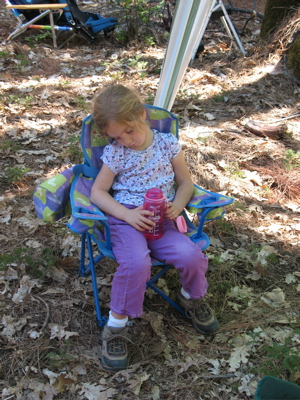
A tired girl
Emma was so tired, she fell asleep in her chair.

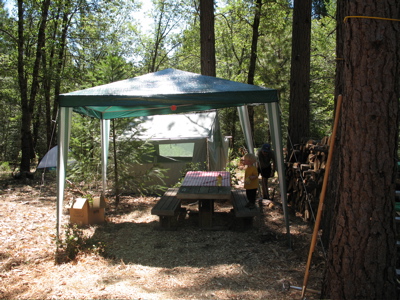
The beginnings of our kitchen and dining room
The beginnings of our kitchen and dining room.

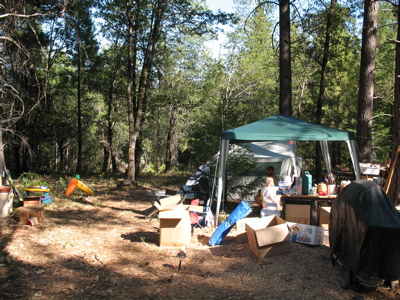
Starting to take shape more
Starting to take shape more. We’re using one of my work benches as a table/storage area and the barbecue has been moved down. The boxes are a key decorating accessory.

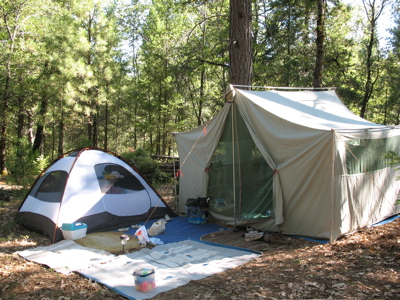
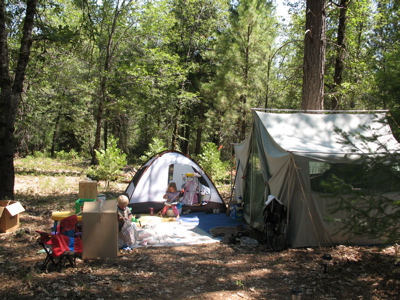
Sleeping quarters
Emma sleeps in the small tent and Gregory, Amber and I are in the big one. The carpets/rugs in between let us go from one to the other without putting on shoes or getting socks dirty.

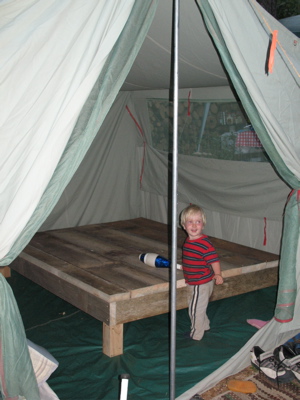
Bed platform
We really wanted to get the tent up so that we had more space so we ended up pitching it on a bit of a slope. After two nights of having people roll into me, I built a platform to level out the space for our bed.

Play area
We’ve added some of the kids toys and shelves opposite the big tent to make this more of a play area for them.

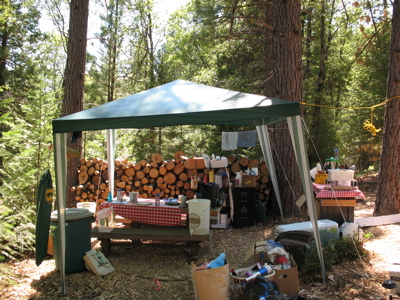
Kitchen and dining area all decked out
This is how the kitchen and dining area are now. Notice the big 5 gallon bucket on the bench? That’s from our wine-making kit and has a spout on the bottom. I fill it (and the sun shower) at the well every evening so that we have water.

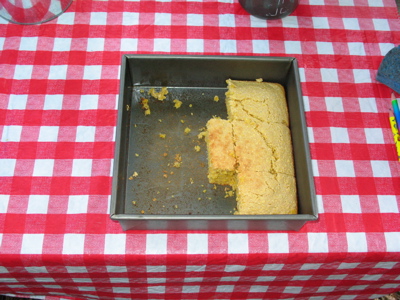
Cornbread baked in a barbecue
The remains of the cornbread that my incredible wife made last night and baked in the barbecue!