I’m not sure if I’ve mentioned this before, but I have no experience building a structure bigger than a small cabinet. Given this lack of experience, it may seem foolhardy to build your own house but I’m taking it in steps.
One of these steps is to build a small workshop. In addition to giving me some building experience, I am creating a structure that I can use for tool storage and some work during construction. The plans are directly from Ortho’s All About Backyard Structures and I started building over the weekend.
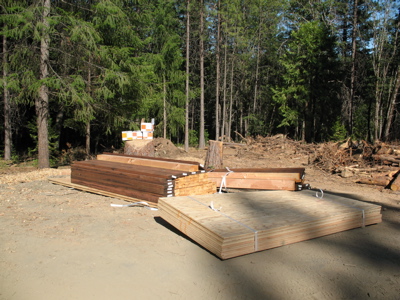
The lumber delivery I met on Friday. This is all the lumber I need for floor, walls rafters and roof sheathing. I will need to get some additional wall sheathing.
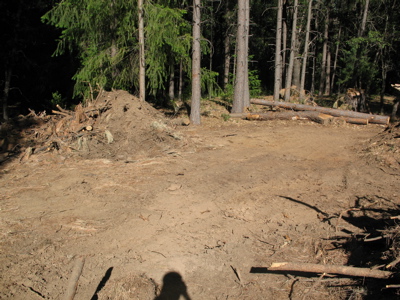
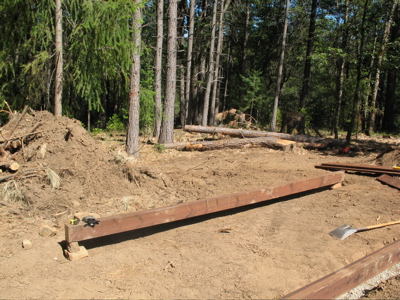
The building site on Friday afternoon before I started building.
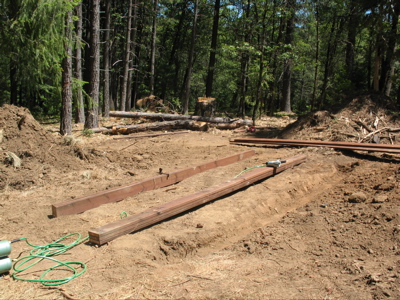
My skids are built up from three pressure treated 2x8s. They came 20′ long and I cut them down to 18′ then nailed them with galvanized 16d short nails. You can see the trench dug for the uphill skid (nearer) and the start of a trench for the downhill skid. My nail gun is also visible in the shot and I’m very glad I had it as I never would have gotten as far as I did if I were nailing everything by hand.
My downhill trench was too deep for the skid. My first attempt to bring the downhill skid to the level of the uphill skid was to put some rocks on each end. This however seemed a bit too unstable for me and I was worried about only supporting the weight at the corners.
I decided that I really ought to do it right so I drove back into town and picked up some cinderblocks to raise the skid up.
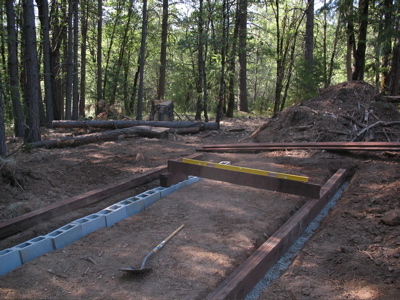
Ah, that’s much better. All leveled out and both skids in place.
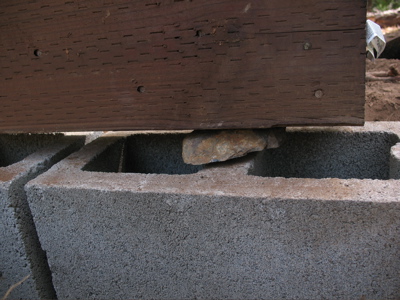
Ok, so my cinder blocks aren’t quite level…but with the help of this rock, my skids are!
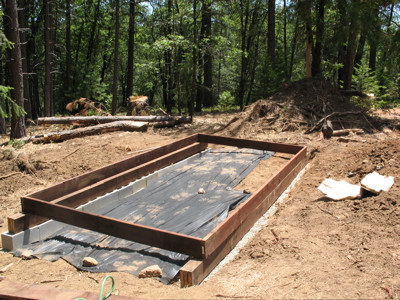
Rim and end joists are squared and nailed. My rim joists are supposed to be 16′ long. I measured the 16′ boards I received at around 16′ 1/2″ and figure that it was close enough…this is a learning experience. The end and interior joists are 93″ long.
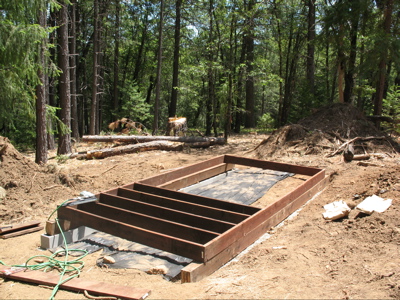
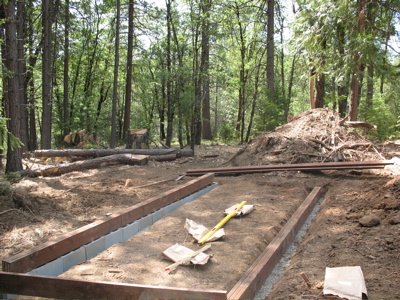
The interior floor joists are laid in and nailed. I knew that they were supposed to be 16″ apart and figured that 16″ on center was the same as 16″ from one side to another. I learned my lesson when I nailed down my first 4×8 sheet of 3/4″ plywood and realized that one corner wasn’t supported. The plywood ended right where the joist began. Now I have a much better understanding of how to layout a floor so that the decking that’s supposed to go on top of it gets placed correctly. I was able to mitigate the situation by adding a couple blocks cut from the 2′ cutoffs I had, but it was a bit of a pain working underneath a nailed down sheet of plywood.

And here it is, in all its glory. Two days of hard work and I have a good, level space built entirely by myself on a slightly sloping hillside.
What have I learned?
- When a piece of wood is supposed to be X feet long, cut it so that it’s X feet long. Don’t just go with it as you received it because it’ll come back to bite you.
- Make sure of your joist layout and decking coverage before you nail down your decking. Working underneath the decking is not easy.
- When you’re trying to level something, dig much deeper than you need to and buy lots of gravel. I was trying to save both money and trips into town by making the most of my limited gravel supply and just trying to level the ground with a shovel, but it would have been much easier to just dig deep and use more gravel.
- Reading about something is not a substitute for actually doing it. I felt like I had a pretty good grounding in what I had to do based on what I’d read, but there’s still a lot to learn by doing.
- Nail guns are just like many hands.
- Measure twice, cut once – Whoa, this doesn’t fit at all! Oh, the opening is 14 1/2 inches, not 14 inches…wow…how’d I make that mistake?
- It takes longer than you expect.
It’s all about taking the learning curve and remembering that the view from the top is going to be phenomenal!! You did a great job, you learned a lot (pretty much touched on everything Zorak and I thought of while we read) – and it looks great! (And you didn’t even type bad words. Way to go!)
Keep up the great work. This is terribly exciting. I’m so tickled for you guys!
Dy
Thanks very much. I’m enjoying the process and it’s very satisfying to be creating a structure (however simple) from just a bunch of wood and nails.
Oh, and the moments requiring bad words are very brief and quickly forgotten in the euphoria of coming up with a solution to the problem.