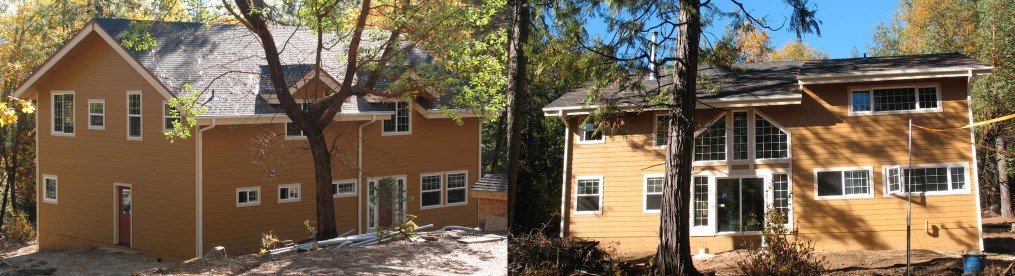
I was up again over the weekend, continuing construction on my workshop. This installment was walls.
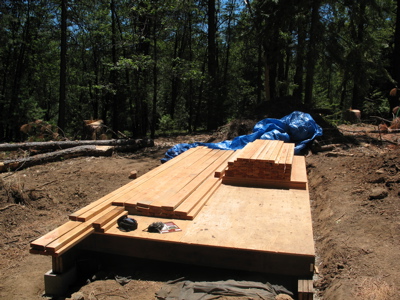
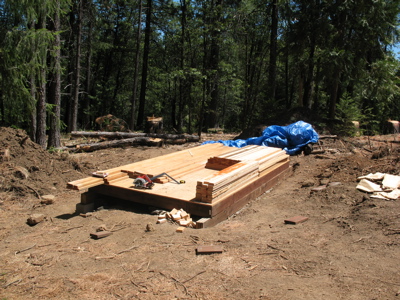
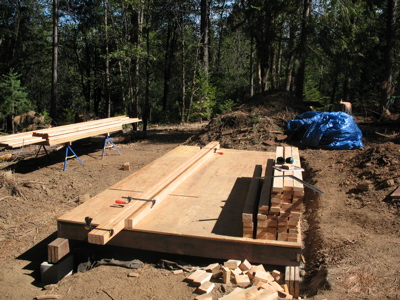
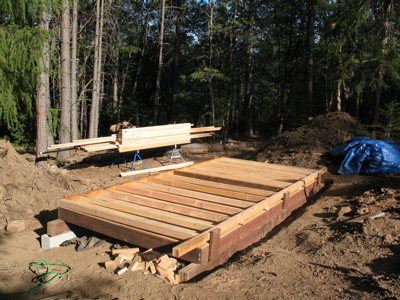
This is the lumber that’s left from my drop after I got the floor built. I stacked it on the deck and covered it with a tarp before I left last time.
I calculated that I needed 47 studs for my four walls. When I got finished, I had used 44 of them due to some estimation of how my door and window arrangement would go.
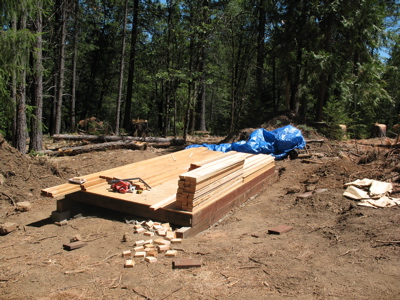
The pile grows – I’m very glad that I won’t be stick framing our house.
After I got all my studs (and my plates) cut to length, I marked the plates for the long walls. My bottom plates are 16′ (the length of the shed) and my top plates are 19′ (so that the roof overhangs the shed). I marked plates for both walls at the same time because it seemed easier and I had the space for it. I used clamps to hold the lumber together while I worked.
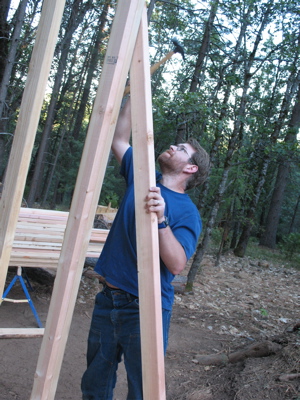
My first wall is framed and awaiting help to stand it up! It took longer than I expected to put it together (I sense a recurring theme here) and I had to figure out how to hold the wall in place while I nailed it. I ended up nailing blocks to both sides of my deck, sticking up above the deck. They provided the resistance necessary for the nails to enter the wood and not just push the wood away.
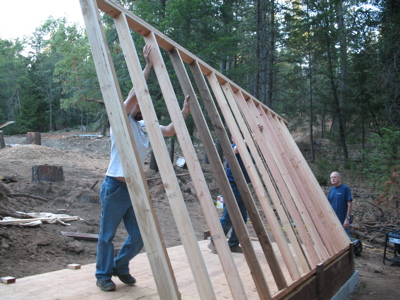
My cousin Jonathan (in the white shirt, helping me push the wall up), Uncle John (standing ready with the level), Jonathan’s fiance (11 days and it’ll be wife!) Jenn (taking pictures) and my Aunt Sandy (watching from a seat by the car) came to help me put up the wall.
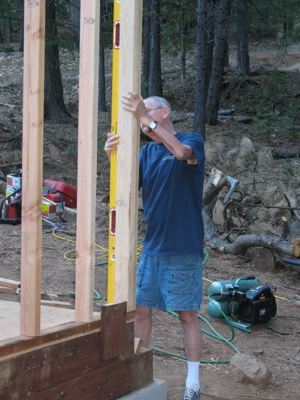
Once we had the wall up, Uncle John made sure it was plumb before we nailed in braces.
I had the braces (8′ long 2x4s) prepped with a nail just through on each side so we could just hold them against the wall and nail it down.
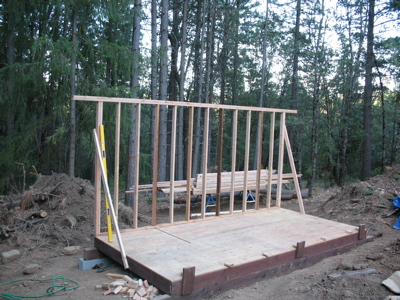
The first wall is up! You can see the braces I nailed in (scrap joist material) as well as some little blocks of 2×4 scattered along the edge. Before the crew arrived, I used my pry bar to lever up the wall and slip some blocks underneath it so that it would be easier to lift.

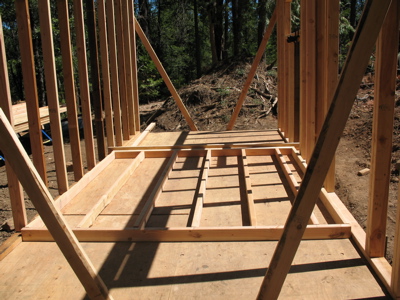
Trimmers, cripples, headers, rough sill, jack studs and king studs all go into making a wall with a door and a window – in addition to the usual studs and plates. Everything is cut to length and ready to be assembled.
Here it is, assembled and ready to be raised. If you’ll look closely, I had to build it with the top plate inside the triangle formed by the wall that’s already up, it’s braces and the floor. There was no reasonable way to put this wall together on the deck without that. To raise it, we just took the braces off the back wall, made sure it wouldn’t fall down (the bottom plate was nailed down so that helped) then put the braces back up after the front wall was up.
Since I had to hang the front wall off the deck in order to have enough room to assemble it, I built some braces that I could nail against. That’s the part you can see. What you can’t see in the picture is that I also nailed a length of 2×4 to the other side of the “arm” to act as a “rail” for the wall to slide along as we lifted it up into place. This prevented it from dropping to the ground when we lifted and it worked quite well.

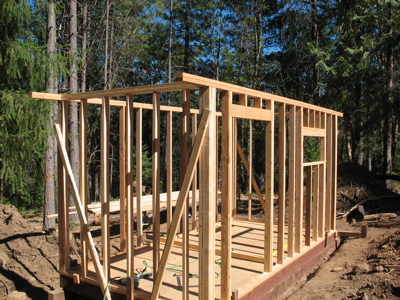
The front wall is up! We didn’t have any pictures taken during this process because it was more complicated (even with the help of my cousin Christopher) and everyone was focused on making sure that walls didn’t fall, braces were out of the way, walls were steadied, plumbed and re-braced. As you can see, I’ll have a large door on the left and a short, long window on the right. Figuring out how big those opening should be took some doing. I’m happy to say that the window fits admirably and I’m hoping that I left the correct amount of space for the door when it gets here in August.
One of my end walls nailed together and ready to be raised.
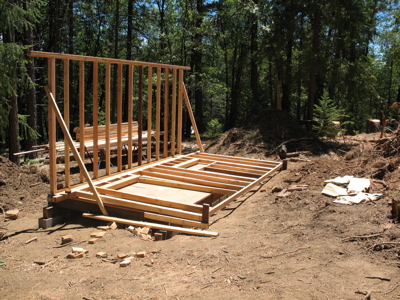
All of my walls are now up! I was able to raise the short ones by myself and just clamp them to the long walls while I got them plumb.
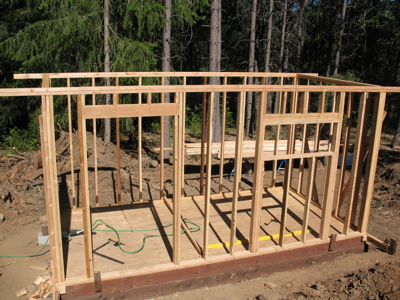
Another shot, from the front of the workshop and standing up on a stump to get a better shot.
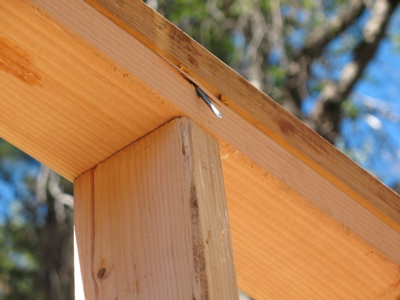
What did I learn? Keep an eye on the angle that you’re holding the nail gun at when you nail your top plate on. It sucks to nail your wall to the floor and have to use a pry bar to get it up. I’ll have to deal with this (and a few more like it) when I’ve got a ladder up there and am working on the roof rafters.
Hey Matt – looks good, nice work! Glad to see you got the end walls up.
Thanks! The end walls were pretty easy to stand up (once I got it unnailed from the floor). Thanks very much for your help in raising the long walls.
Fantastic! You make it look so easy. 🙂
I found that it really wasn’t that bad (especially compared to the roof rafters – more to come there). I’m sure that the nail gun helped a great deal and sped me on my way much faster than I’d have gone with just a hammer.