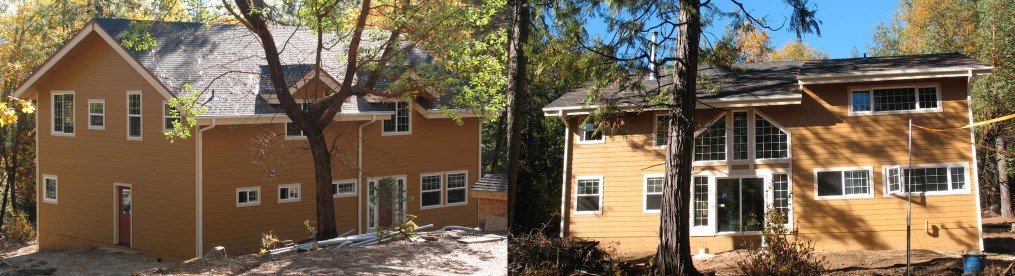
 The wall behind the woodstove. Drywalled.
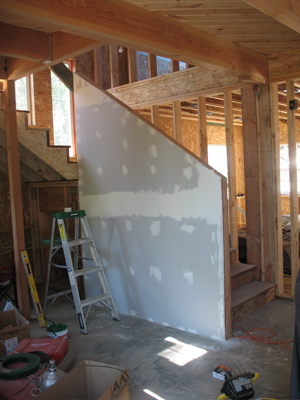
 The raised squares on the wall are spacers created from 2" square pieces of backerboard. They give us the air gap needed to decrease the distance that the stove must be from the wall by approximately 60%. I cut them with the diamond blade and used regular woodworking glue to hold them in place. I shot each of them with a couple 1 1/2" staples to hold them while the glue dried. The orange bit at the bottom is the anti-fracture membrane.
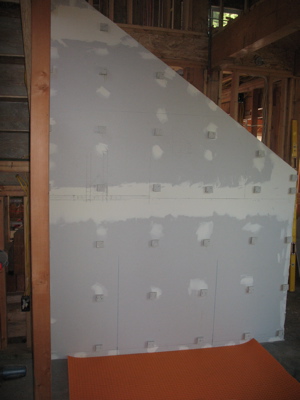
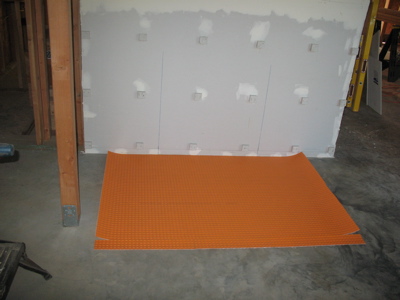 This is a better view of the anti-fracture membrane. It’s not mortared down yet, that’s why it’s rolling up at the edges. This material gets mortared to the floor and you mortar the tiles to it. With this in place, cracks that develop in the slab aren’t transmitted to the tiles.
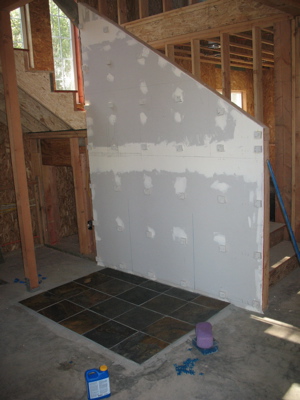 Big jump. The tiles are all mortared down and sealer was just applied (that’s why they look so dark).
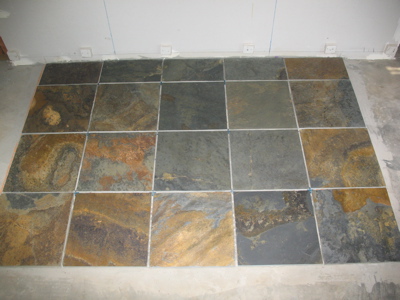 A closer look at the tiles. You can see that I had to cut the row of tiles closest to the wall. The little blue bits between tiles are spacers that we leave in and just grout over. We needed to do the floor first, partly because that’s what the stove will sit on, and party because the vertical tiles will hang over the wall and it would have been difficult to install the floor after the fact.
That is a nice floor. I’ve become a big fan of tile–we just put some down in our kitchen. We did not, however, have the skill (or patience) to self-install, so I’m impressed by your straight lines.
Thanks, Allegra. Fortunately, we’re dealing with real stone (slate) so it’s already got some disparity in dimensions. If we’re off a bit here or there (and believe me, we are) it doesn’t look out of place because we’re not dealing with uniform material.